
A mould can be perfectly machined and still produce a part that looks wrong.
The problem is often not the mould design. It is the surface finish.
A small difference in texture can change how a moulded part looks, feels and releases from the mould. If your drawing says VDI 18, simply asking for a “matte finish” is not enough. The mould surface needs the right preparation, the right texturing method and proper inspection.
So, how do you get a consistent VDI 18 surface finish without ending up with uneven texture, visible marks or a finish that does not match your approved sample?
The answer starts before the actual texturing process. In this guide, we explain
What VDI 18 means,
How the mould should be prepared,
Which mistakes can affect the result,
How VDI 18 is checked,
and what you should discuss with a professional mould texturing service before sending your mould for work.
Jai Ambay Etching Process, provides professional mould texturing, chemical etching , 5 axis laser texturing and VDI surface finishing services in India. With 30+ years of experience and an experienced engineering team, We work specifically on moulds and help customers select and achieve the required surface finish based on the actual mould and production requirement.
A VDI 18 surface finish is a recognised mould surface finish level within the VDI 3400 reference system.
VDI grades are commonly used to describe the roughness or texture level required on a mould surface. Lower numbers represent finer finishes, while higher numbers represent rougher finishes.
For VDI 18, commonly referenced charts give an approximate Ra value of 0.80 µm. This places VDI 18 in the finer textured range and is commonly associated with a light, satin-type surface appearance.
However, there is an important point that many buyers miss:
VDI 18 should not be treated as only a number on a roughness meter.
The final appearance can also depend on the texture pattern, direction, process, mould condition and inspection method. For this reason, a physical reference plaque or approved sample can be very useful when the appearance is important.
VDI grade: 18
Commonly referenced Ra: 0.80 µm
General appearance: Fine/satin textured finish
Application: Mould surface texturing where a controlled fine texture is required
Important: Final acceptance should be based on the agreed specification and reference, not only the Ra number
This is why getting the same finish on every area of a mould requires more than simply applying a texturing process.
Imagine you have a mould where one area has the correct fine texture, but another area is slightly rougher.
You may notice the difference in the finished part as:
Different light reflection
Uneven appearance
Different surface feel
Visible transition between areas
Texture marks
Poor matching between mould sections
For a product where appearance matters, even a small difference can become a major issue.
This is particularly important when the mould has large visible surfaces, curved areas, inserts, shut-off areas or several sections that must match.
A good VDI 18 surface finish should therefore be planned as a complete mould-finishing job rather than treated as the final step only.
One of the biggest mistakes is starting texturing without properly checking the mould.
Before any texturing or etching work begins, the mould surface should be inspected.
The engineering team should look for:
Scratches
Dents
Polishing marks
Rust or contamination
Previous texture
Welding or repair areas
Uneven surface preparation
Sharp edges
Areas where texture is not required
Why does this matter?
Because texturing does not automatically remove every surface problem.
If a deep scratch is present before texturing, the scratch may remain visible after the process. In some cases, the texture can even make an existing defect easier to notice.
That is why experiencedmould texturing companies inspect the mould first.
At Jai Ambay Etching Process, the mould condition is considered before deciding how the surface should be prepared and textured.
A clean and properly prepared surface is one of the most important requirements for achieving a consistent VDI 18 surface finish.
If the mould has polishing marks, oil, dirt, rust or other surface defects, the texturing process can produce an uneven result.
Depending on the mould condition, surface preparation may involve cleaning, polishing or other suitable preparation before the actual texturing work.
Suppose one part of the mould is properly polished while another part has machining or polishing marks.
After texturing, these areas may not react or appear in exactly the same way.
This can create a visible difference even when the same VDI grade is requested.
The goal is therefore not simply:
“Apply VDI 18.”
The real goal is:
“Prepare the complete mould surface correctly so the required VDI 18 texture can be produced consistently.”
Before starting work, make sure everyone understands what “VDI 18” means for the project.
This sounds simple, but it can prevent expensive rework.
The customer, mould maker and texturing service provider should ideally agree on:
Required VDI grade
Areas to be textured
Areas that must remain smooth
Required texture appearance
Texture depth or roughness requirement
Reference sample, if available
Critical cosmetic areas
Inspection method
A VDI number is useful, but a physical reference can make the requirement even clearer.
Published VDI references commonly associate VDI 18 with approximately 0.80 µm Ra, but different charts and processes may show slightly different values. That is another reason not to approve a critical cosmetic finish from a number alone.
There is no single texturing process that is perfect for every mould.
The correct method depends on the mould geometry, required texture, surface condition, working area and expected appearance.
For a VDI 18 surface finish, the texturing specialist should first understand the mould and then select a suitable process.
Depending on the job, mould texturing may involve processes such as:
Chemical etching
Laser texturing
Suitable surface preparation
Mould polishing before texturing
Chemical etching is a traditional and useful method for creating controlled textures on mould surfaces.
The surface is prepared, the required areas are protected, and controlled chemical action creates the required texture.
It can be useful for certain mould textures and large mould surfaces.
However, the result depends heavily on surface preparation, masking, mould condition and process control.
Laser texturing uses a controlled laser process to create a texture on the mould surface.
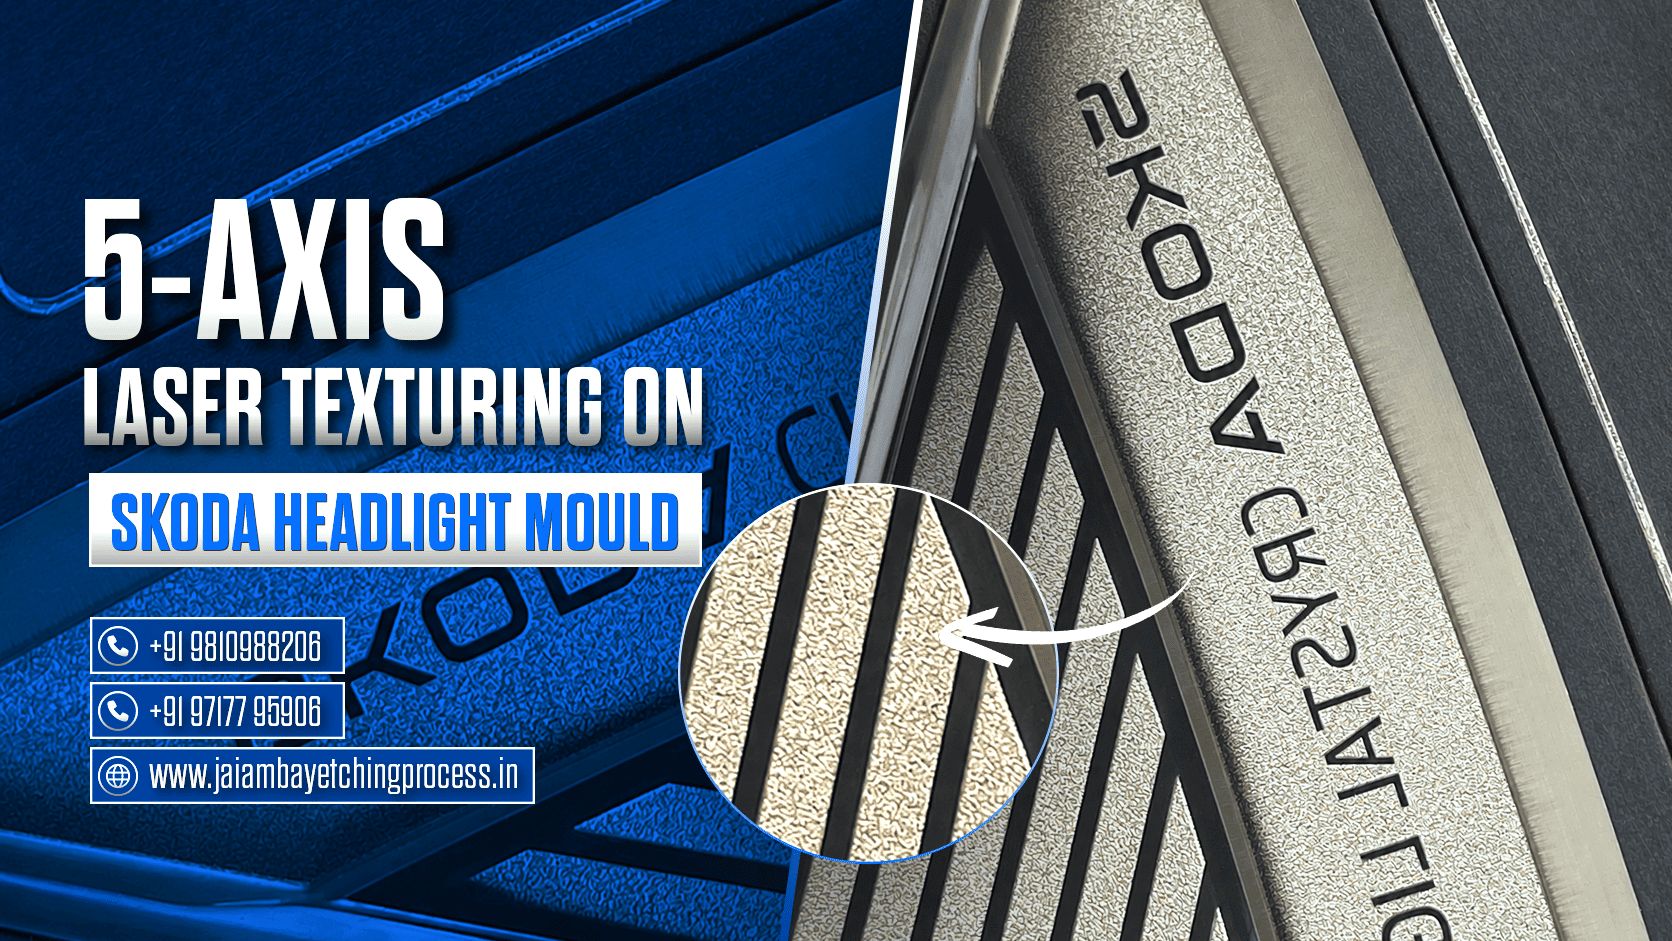
Modern 5-axis laser texturing is particularly useful for moulds with complex curves, deep areas and difficult geometries. Jai Ambay Etching Process provides 5-axis laser texturing for complex mould surfaces and focuses on controlled and repeatable texture creation.
The important point is this:
Do not select the process only because it is newer. Select the process that suits the mould and the required result.
An experienced engineering team can help make that decision.
A flat surface is easier to texture than a complicated mould surface.
Real production moulds can have:
Curved cavities
Deep pockets
Ribs
Sharp transitions
Inserts
Side walls
Different draft angles
Small corners
These areas can make texture control more difficult.
A good VDI 18 surface finish should not only look correct on an easy flat area. The difficult areas must also be reviewed.
This is where experience becomes important.
The texturing team needs to understand how the mould geometry affects access, texture direction, surface preparation and final appearance.
Draft angle is another point that should not be ignored.
When a textured mould is used in production, the finished part must release from the mould properly.
As texture becomes rougher or deeper, the effect of the texture on mould release can become more important.
For VDI 18, published reference tables commonly show relatively low draft requirements compared with coarser VDI grades, but the actual requirement depends on mould geometry and the production application.
Do not use a general draft number blindly.
Instead, review:
Texture requirement
Texture depth
Mould wall direction
Part release direction
Mould geometry
Actual production requirement
This is especially important for side walls and deep cavities.
Even when the correct VDI grade is selected, several problems can affect the final result.
If the original mould surface contains scratches or inconsistent polishing marks, the final texture may not look uniform.
Some mould areas should remain smooth or require a different finish.
Poor masking can allow the texturing process to affect areas that should not be textured.
Uneven process control can create differences between one mould area and another.
This becomes very noticeable on large cosmetic surfaces.
Welded or repaired areas can behave differently from the surrounding mould surface.
The texturing provider should know about these areas before starting the job.
A photograph can help during discussion, but it should not always be the final method for approving a critical surface finish.
Lighting, camera settings and screen quality can change how a texture appears.
A physical reference is much safer for important cosmetic requirements.
Inspection should be planned before the mould is textured.
A roughness measurement can provide useful information, but Ra alone does not fully describe visual texture.
For example, two surfaces may have similar roughness values but still look different because their texture pattern, direction or manufacturing process differs.
For this reason, a good inspection approach may include:
Visual comparison
Physical texture reference
Roughness measurement where required
Checking texture consistency
Checking critical areas
Checking transitions between textured and non-textured areas
For highly visible mould surfaces, the customer and service provider should agree on the acceptance method before work starts.
This avoids the common situation where the mould is finished but both sides have different ideas about what “VDI 18” should look like.
VDI 18 is not the only available VDI level.
As the VDI number increases, the surface generally becomes rougher.
A commonly referenced VDI scale includes:
VDI Grade | Approx. Ra |
VDI 12 | 0.40 µm |
VDI 15 | 0.56 µm |
VDI 18 | 0.80 µm |
VDI 21 | 1.12 µm |
VDI 24 | 1.60 µm |
VDI 27 | 2.24 µm |
VDI 30 | 3.15 µm |
VDI 33 | 4.50 µm |
VDI 36 | 6.30 µm |
VDI 39 | 9.00 µm |
VDI 42 | 12.50 µm |
VDI 45 | 18.00 µm |
These values are commonly published reference values and should be treated as engineering guidance rather than a replacement for an agreed physical reference and inspection method.
This also explains why VDI 18 should not be confused with a much coarser VDI grade.
Choosing a texturing company is not only about finding someone who can create a texture.
The company should understand moulds, surface preparation and the production requirement behind the texture.
Jai Ambay Etching Process provides mould texturing, mould etching and VDI surface finishing services in India.
The company has 30+ years of hands-on experience in mould surface work and supports tool rooms, OEMs and manufacturing companies across India. The company profile also highlights an experienced engineering team and work across mould texturing, laser processing and chemical etching.
Our approach focuses on the mould itself.
Before the process, the team can review:
Mould surface condition
Required VDI finish
Texture areas
Mould geometry
Existing polishing
Welded or repaired areas
Required texturing process
Final inspection requirement
This helps reduce the risk of treating every mould in exactly the same way.
A machine can follow a programmed process.
But mould finishing still requires people who understand what can go wrong.
An experienced engineering team can identify surface problems before they become expensive finishing problems.
That is especially important when the mould has already required significant machining, polishing or repair work.
Jai Ambay Etching Process works specifically on moulds, not as a mould manufacturer. Its service focus includes mould texturing, 5-axis laser texturing, chemical etching, mould polishing and related mould surface finishing services.
A little preparation from the customer can save a lot of time later.
Before sending the mould, keep these points ready:
Clearly mention the required VDI grade.
Mark the areas that require texture.
Mark areas that must remain smooth.
Share a drawing when available.
Share a physical reference or approved sample if possible.
Tell the service provider about welding or repair areas.
Confirm the expected appearance.
Discuss draft and difficult mould areas.
Agree on the inspection method before starting.
This information allows the texturing team to understand the actual requirement instead of making assumptions.
Getting a good VDI 18 surface finish is not simply about choosing VDI 18 on a drawing.
The final result depends on the complete process:
Mould inspection → surface preparation → texture planning → process selection → controlled texturing → inspection → approval
If the mould surface is not prepared properly, the texture may expose existing defects.
If the wrong process is selected, complex areas may not match.
If the acceptance standard is unclear, a technically acceptable finish may still be rejected because it does not look like the customer's reference.
The safest approach is to discuss the mould with an experienced texturing service provider before starting the job.
Jai Ambay Etching Process provides mould texturing, mould etching and VDI finishing services across India, backed by 30+ years of experience and an expert engineering team. If your mould requires VDI 18, the team can review the mould requirement and help determine the suitable texturing approach.
A perfect VDI finish starts before the texturing machine starts.
VDI 18 is a fine mould surface texture grade commonly associated with an approximate Ra value of 0.80 µm. It is generally used where a fine, satin-type textured appearance is required.
Yes, suitable mould texturing processes can be used to achieve a VDI 18 requirement, depending on the mould, surface condition, texture design and process specification. The texturing method should be selected after reviewing the actual mould.
No. Ra is useful for measurement, but it does not fully describe the visual appearance or texture pattern. For important cosmetic moulds, a physical reference and agreed inspection method can provide better control.
Start with proper mould inspection and surface preparation. Also confirm the texture area, reference finish, mould condition, process and inspection method before texturing. Welding, scratches, polishing marks and poor masking can affect the final result.
Yes. Jai Ambay Etching Process provides mould texturing, chemical etching and 5-axis laser texturing services for moulds across India. The company has 30+ years of hands-on experience and an experienced engineering team for mould surface work.
©2026 Jai Ambay Etching Process. All Rights Reserved.